
6 Common Misconceptions about Gauge Swatches
- Susanna

- Sep 30, 2022
- 8 min read
"Swatches are lying liars who lie". How many times have you heard that? Or maybe you've even said it yourself?
I'm a firm believer in swatching and the insight they can bring about your yarn and future project even before you've cast on. If you think swatches lie, perhaps you're not listening closely enough to what they're saying.
In this blog post I explore six common misconceptions about swatching. Let's bust some swatch myths!
Myth #1: Gauge swatches should measure 10 x 10 cm
The most common misconception about gauge swatches has to do with their size and — to some extent — shape.
Just because gauge in patterns is indicated as x stitches and y rows per 10 cm (or 4 inches) doesn't mean you should cast on x stitches, work y rows, and expect the piece to come out as a perfect 10 x 10 cm square.
Instead, knit your gauge swatch large enough to reliably measure a 10 x 10 cm area in the middle without any of the edges (cast-on, bind-off, or sides) distorting the result. My rule-of-thumb is to cast on 1½ to 2 times the number of stitches indicated in the pattern. For instance, if the pattern gauge is 22 stitches per 10 cm, cast on 33–44 stitches instead and work enough rows until the piece of roughly a square shape. That gives you a swatch that's large enough to take multiple measurements from and average across the results.

Whether to add a border to your swatch or not is a highly contested issue. Doing a garter-stitch border on your otherwise stockinette swatch can help it lay flat, making it easier to take measurements. But some people think this will interfere with the measurements you get. My opinion: if your swatch is large enough (as it should be), having a couple of stitches of garter stitch on the edges won't matter much because you've still got enough of an area to work with.
As for the shape, your gauge swatch might not be a square at all! Sometimes you might get away with it being a squat rectangle. If you're swatching for a yoked sweater, a circle shawl, or some other object that increases from the center out, your swatch might be triangular or sector shaped. And if you're swatching for an object knit in the round, your swatch might be a tube.
Myth #2: Gauge swatches should be knit flat in stockinette
A flat piece of stockinette is probably the most common type of gauge swatch you've seen (or done). But it's not the only kind and, depending on your project, may not even be the right kind of swatch.
Gauge swatches should be worked in the same stitch pattern, using the same needles, same yarn, and the same method of knitting as the majority of the project you're about to embark on. A good knitting pattern should indicate the stitch pattern that's used for the swatch.

If the pattern is worked in multiple stitch patterns, swatch all of them and adjust needle size accordingly. Even if the designer achieved the same gauge in, say, stockinette and stranded colorwork, doesn't mean the same applies to you. The only instance of swatching in multiple stitch patterns I'd cheat with is ribbing… unless that's the main stitch pattern in your project. Swatch with the main stitch pattern to find the right needle size, then for ribbing go down by the same amount as indicated in the pattern.
Needle type and material can have an impact on gauge. Carbon needles can be sticky, aluminum or steel needles slick, bamboo or wood somewhere in between. You might also get different gauges on double-pointed vs. circular needles or square vs. round needles. Always use the same needle to swatch with as you intend to use for the project proper for most accurate results.

Different colors can also behave differently! For instance, dyed vs. undyed colors of the same yarn can feel different and have varying gauges. Dark colors (like black or navy) in particular are often subjected to much more intense treatments and harsher chemicals during the dyeing process. It may be tempting to use another color from your stash for swatching but again, for most accurate results, swatch with the same yarn, color, and dye lot as you intend to use for the project.
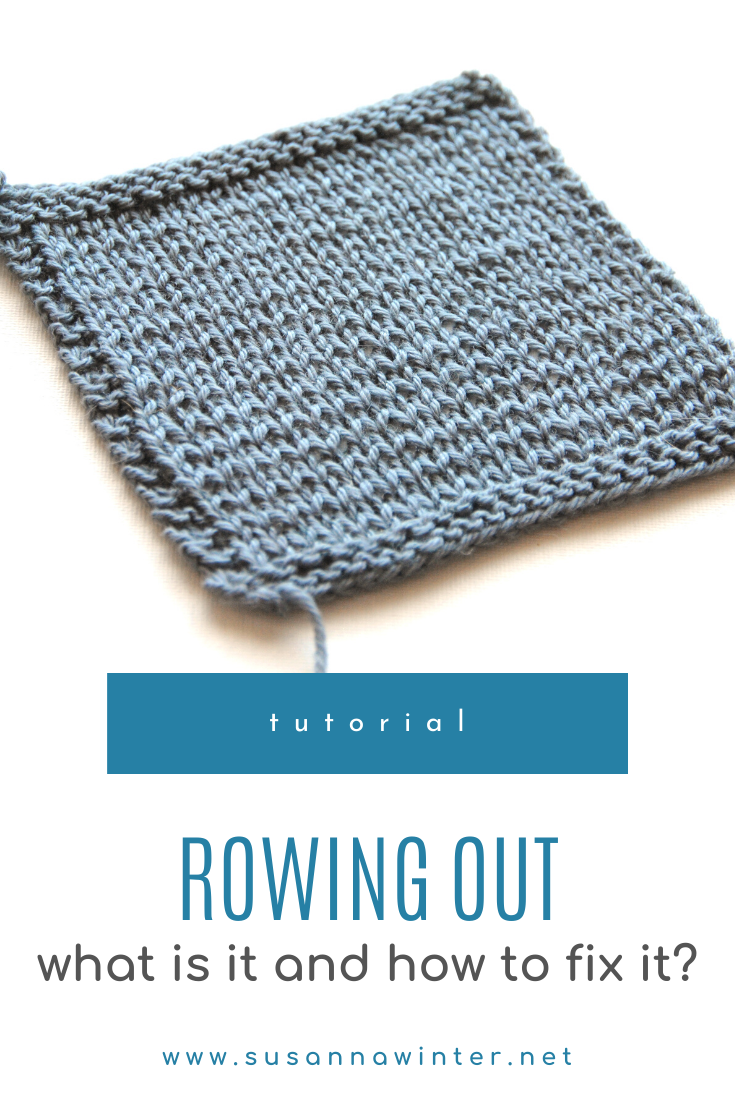
If your project is to be knit in the round, you should also swatch in the round. If the pattern has both flat and in-the-round sections (for example, a cardigan), swatch both methods and adjust needle size accordingly. Most knitters have different tensions when knitting vs. purling which can lead to rowing out. If you tend to have looser purls than knits, knitting a gauge swatch flat might lead you to think your gauge is looser than it actually is and pick too small a needle size for your project. Or, using the same needle size for the cardigan body (knit flat) and sleeves (knit in the round) might make your sleeves come out too loose and too long.
There are a couple of different ways to swatch in the round. The first one is obvious: casting enough stitches to join in the round and creating a tubular object, like a sock or a hat. (By the way, hats make excellent swatches.) The second is a faux circular swatch knit flat, sometimes also called a speed swatch: always knitting on the right side of your work with long, loose floats traveling on the back of the swatch. In order to measure your gauge in a speed swatch, you need to cut the floats at the back so that they don't pull in and interfere with your measurements. This flies against my ethos of knitting frugally and re-using the swatch yarn (see myth #6) since you couldn't unravel it without ending up with a whole lotta chopped up yarn.
Myth #3: The pattern will tell you whether to block your swatch
Here's a little secret from a pattern designer: gauge in patterns is always blocked gauge, even if it's not explicitly stated (and it rarely is). Sometimes a pattern might give you unblocked gauge as additional information but all calculations and measurements in knitting patterns are made based on blocked gauge. This includes row gauge, as well, which we'll get to in the next myth.

Always wash and block your gauge swatch the same way you intend to treat the finished object. Patterns will rarely tell you to wash your swatch; it's just assumed everyone already knows to do this. Your true gauge is only revealed when your swatch has been washed, blocked, and dried. But that doesn't mean you shouldn't measure your gauge before washing. In fact, for most accurate results you should measure your swatch both before and after blocking. That'll tell you in advance how much your project will grow in both horizontal (stitch gauge) and vertical (row gauge) directions.
Different yarns and materials behave differently when washed and block but, in general, most yarns bloom (grow) when washed. Measuring your gauge from an unwashed swatch might mislead you into choosing too large a needle size for your project. Superwash wool in particular is notorious for growing out of proportion when wet. Plant fibers such as cotton and linen often stretch widthwise but contract in length.
Myth #4: Row gauge doesn't matter
It's often suggested for knitters to match stitch gauge and not worry about row gauge. This makes sense to a certain extent. Since most patterns indicate lengthwise measurements in centimeters or inches (for instance, work even until the piece measures 12" from the cast-on edge), you can easily adjust your knitting to fit this length regardless of whether you hit row gauge precisely or not. One important point to keep in mind, though: as discussed above, this measurement is based on blocked gauge so you do need to know the extent to which your work will grow in its final wash.

That's not the whole truth — far from it! With certain constructions row gauge is very important. For instance, if your garment is worked sideways row gauge is the primary gauge since that is what the garment circumference is based on. With raglan or round-yoke sweaters, increase rate (if working top down) or decrease rate (if working bottom up) is determined by round gauge. If your row gauge is looser than in the pattern, your sweater will bubble and bulge in the upper body. On the other hand, if your row gauge is tighter than specified, the underarms of your sweater will burrow into your armpits because the sweater yoke is too short. The same is true for any object with shaping in the vertical direction, such as sleeves, waist shaping in sweater bodies, socks, hat, mittens… pretty much anything!
Row gauge is irrelevant only when the object you're knitting has absolutely no shaping. It would be a much shorter list to name all the objects for which row gauge truly doesn't matter: flat rectangles (such as dishcloths, blankets, or scarves) or straight tubes (cowls, legwarmers, heelless socks). The circumstances in which row gauge can be glossed over are actually pretty rare.
Myth #5: Swatching is useful only for fitted items
It's true that for items that don't have to fit anyone accurately, you don't need to match gauge precisely. (Confession: I don't swatch for shawls.) But that doesn't mean knowing your tension is the only useful piece of information you get from swatching.

Consider these cases:
How do these colors look together?
Is this color too busy for lace/cables/colorwork?
Is this color too dark to show off the stitch pattern?
Do these colors have enough contrast for colorwork?
Can I use different yarn types (such as superwash vs. non-superwash or plied vs. single-ply yarns) and materials (wool, cotton, silk, man-made fibers, blends) in the same project?
How do different yarns behave when washed and blocked?
Do the colors bleed when washed?
Can the yarn be machine washed or tumble dried?
Is the yarn itchy? Can I wear a sweater made of this yarn?
Does this yarn pill when worn?
Will I have enough yarn for this project?
The answer to all these questions: swatch it.
Even if you were a piano prodigy, you wouldn't go onstage in fully-booked Carnegie Hall and start playing Beethoven's Fifth prima vista. Swatching is an opportunity to get to know your yarn and how it behaves before you've even cast on your project.
Myth #6: Gauge swatches are wasted yarn
"I only have three skeins of a very expensive yarn and I don't want to waste any of it on swatching."
This is the most backwards-logic excuse against swatching I've ever heard. Having a limited amount of precious, one-of-a-kind, or discontinued yarn is precisely the reason why you should swatch: to test it on a small scale first. Surely wasting tens of hours of work on a garment that doesn't fit you right or having the heartbreak of felting that vintage yarn from your grandma's stash is much worse than dedicating a bit of time and effort for swatching?
Swatches can have many uses after you've measured gauge. Turn them into potholders, mug cozies, or Barbie dresses. Seam multiple swatches together to make a sampler blanket, a technicolor dream coat, or a patchwork bolero.
Some people collect their swatches in a binder to refer back to later but I'm not that organized. Instead, I often suggest sewing the swatch to the inside of a sweater to keep for future mending purposes, such as duplicate stitching over worn-out sections, reinforcing frayed edges, or re-attaching buttons. When the swatch gets washed and worn as much as the sweater itself, any repaired bits won't stand out like yarn straight out of the ball would. If the sweater is a cardigan, the swatch doubles as a hidden inside pocket!

But I don't always take my own advice. My favorite use for swatches is to reclaim the yarn. When you knit a gauge swatch, tie a knot on the working yarn instead of breaking it. Wash, block, and dry the swatch with the ball still attached. Measure your gauge and, at minimum, note it down. Even better: take a photo of your swatch for record keeping with notes of your stitch gauge, row gauge, and needle size. And then unravel the swatch! You'll still have the original amount of yarn to use for your project — you'll just have to unkink the reclaimed bit first.
Next time you're thinking of skipping a gauge swatch to get to the good bit faster, pause for a moment. Knitting a gauge swatch is never wasted yarn, time, or effort.
Pin this post!

![How to Add Waist Shaping to Top-Down Sweaters [TUTORIAL]](https://static.wixstatic.com/media/2a6e85_fba0703da7854bafa1f8c8c85ceacbe7~mv2.png/v1/fill/w_735,h_1102,al_c,q_90,enc_avif,quality_auto/2a6e85_fba0703da7854bafa1f8c8c85ceacbe7~mv2.png)


I was starting to think I was the only person who swatches any more! Thank you for the article. I never thought to swatch for yoke increasing, but I will start doing it now.